
 By gail
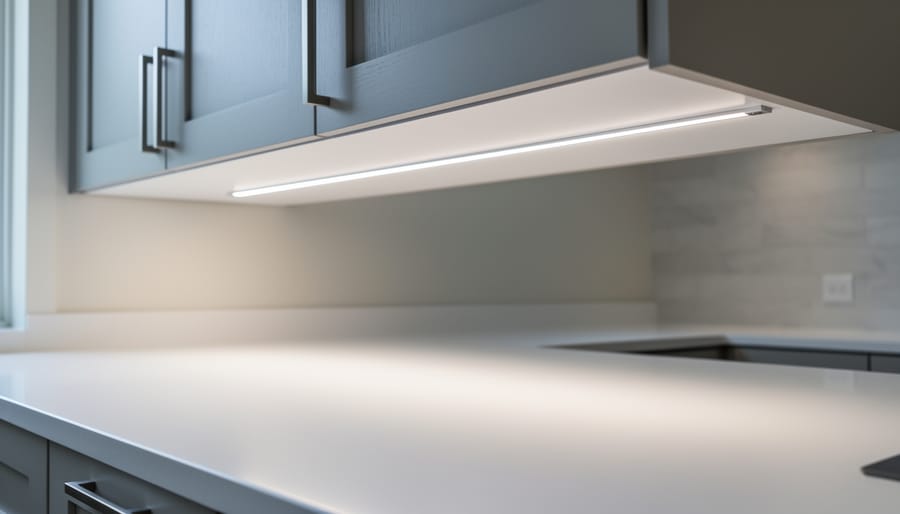
Front lighting in a cabinet setup means mounting the fixture on the front edge or face frame of the cabinet, so light angles down and back toward the work surface instead of straight down from behind. It’s the fix for the harsh glare and dark spots that rear-mounted strips often leave on countertops. For most commercial kitchens, break rooms, and retail display cabinets, a front-mounted LED strip or slim bar light takes about an hour per cabinet run and needs only basic tools and moderate DIY skill.
The examples below show where this approach works best, from reception counters to service cabinets, so you can confirm it fits your space before you buy anything. Each one pairs a use case with the mounting position, fixture type, and power method that suit it.
Front placement is one of several proven methods for under cabinet lighting and it pairs well with low-voltage and solar-powered setups, a practical option for sites where running new wiring is costly or impractical. Pick the example closest to your layout, then follow the installation steps that come after.
Front Lighting Examples: Where This Cabinet Lighting Technique Works Best
Task Areas and Work Surfaces
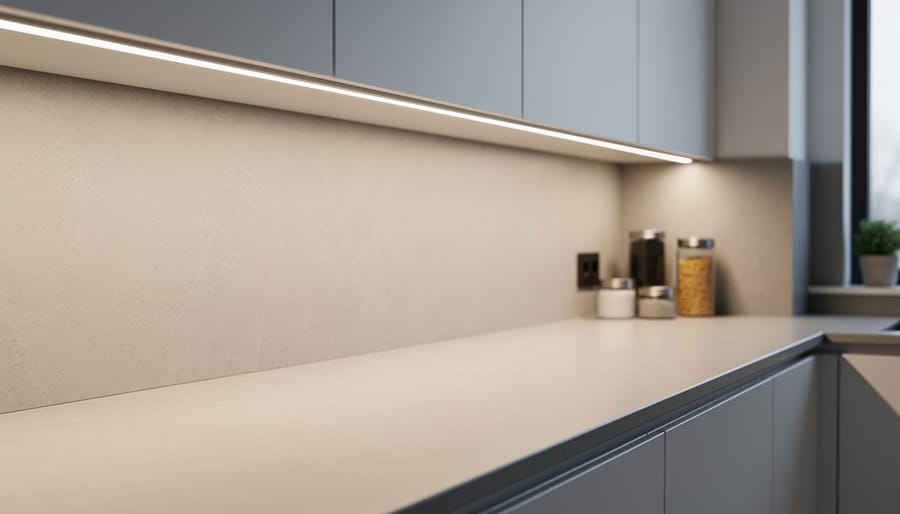
Break room counters are one of the easiest places to see the benefit. When a fixture sits at the front edge of the upper cabinet, the light lands on the counter itself, so someone slicing a bagel or filling a coffee carafe isn’t working in their own shadow.
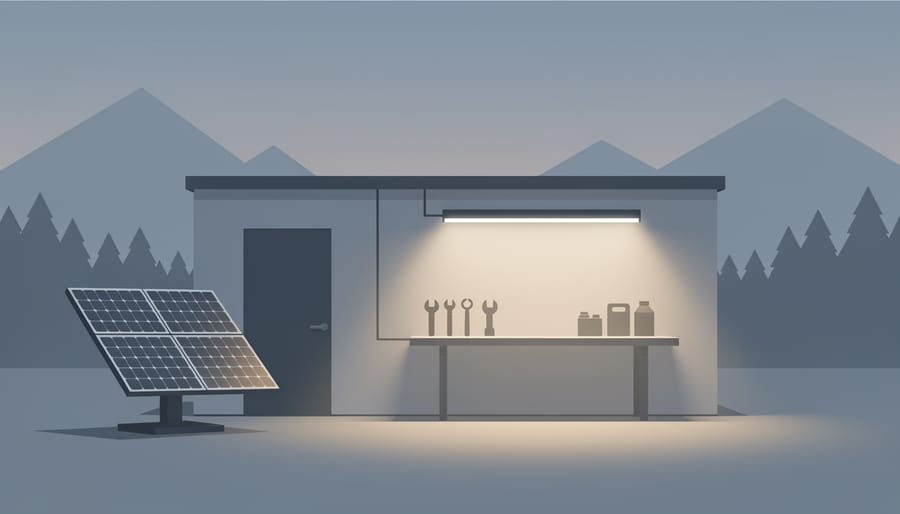
Workshop and storage benches follow the same logic. A strip or linear bar mounted along the front of an overhead shelf lights tools, labels, and part bins from the user’s side, which helps when reading small markings or sorting fasteners.
Lab and prep areas tend to be the most demanding. Measuring, cutting, and inspecting all depend on consistent brightness across the full width of the bench, with no dark gaps between fixtures. Here, a continuous diffused bar usually beats spaced-out spot fixtures, and a neutral white tone keeps colors easy to judge.
In each case, front placement puts light where the hands are working.
Display and Retail Cabinets
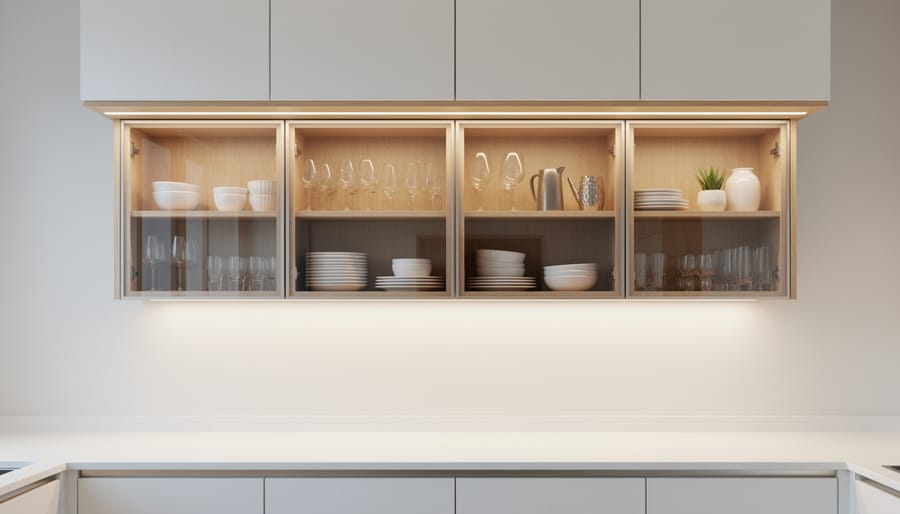
Retail and display cabinets are where front lighting earns its keep. Mounted along the front edge of the shelf or cabinet underside, a slim LED bar throws light down and slightly back across the products, so labels, finishes, and textures read clearly instead of washing out.
The main challenge is glass. Light aimed straight at a glass door bounces back into the viewer’s eyes. Setting the fixture just behind the front rail, or using a frosted diffuser, keeps the source hidden and cuts that reflection. Open shelves are easier, since there’s no pane to fight.
A few examples work well:
– A bakery or deli case with neutral white bars to keep food colors accurate
– A trophy or memorabilia cabinet in a lobby, lit shelf by shelf to avoid dark gaps
– A tool or parts counter where customers browse small items
For more layouts to borrow, browse these in-cabinet lighting ideas.
Tools and Materials to Gather Before You Start
Gather everything before you start so you aren’t hunting for a connector halfway up a ladder. The exact kit depends on your power choice, but most front lighting jobs need the same core items.
- LED strip or linear bar fixtures: the light source itself, sized to the cabinet’s front edge.
- Power source: a hardwired low-voltage driver, a plug-in adapter, or a solar panel with battery pack for off-grid sites.
- Diffuser channels or lenses: soften the light so individual diodes don’t show.
- Mounting clips or adhesive-backed channels: hold the fixture firmly in place.
- Switch or dimmer: lets users control the light without unplugging anything.
- Measuring tape and pencil: for accurate layout marks before you commit.
- Drill and screwdriver: for pilot holes, screws, and securing brackets.
- Wire connectors and cable clips: join runs safely and keep wiring tidy.
- Cleaning supplies: isopropyl wipes and a dry cloth so adhesive actually sticks.
A few terms are worth knowing before you shop. The driver is a small power converter that changes mains electricity into the steady low voltage LEDs need. Pairing it with the wrong rating is a common cause of flicker, so check wattage against your total strip length. The diffuser is a frosted cover or lens that spreads light evenly and cuts glare. Color temperature describes how warm or cool the light looks, measured in kelvins: lower numbers (around 2700K) read as warm and yellowish, while higher numbers (4000K and above) look crisp and bluish-white.
If you’re working at a remote shed, kiosk, or other structure without nearby grid power, a solar panel and battery pack can replace the driver and adapter entirely, which also removes the cost of running new wiring.
Safety Warnings and Stop Conditions Before You Work
Before you drill a hole or strip a wire, settle the safety basics. Most front lighting jobs are low-risk, but the points below are where problems start.
Treat every hardwired circuit as live until you’ve proven otherwise. Switch off the circuit at the breaker, then confirm it’s dead with a voltage tester. Don’t rely on a wall switch alone, since it may not cut power to the junction you’re working on.
Know which side of the system you’re handling. Low-voltage LED strips run from a driver (the power converter), but the driver’s input side is still line voltage and needs the same respect. Check that your fixtures are rated for the environment: kitchenettes, workshops, and damp locations call for appropriate heat and moisture ratings. Match the total load to the driver’s rated capacity, and leave some headroom rather than running it at its limit.
Physical hazards count too. Set the ladder on level ground and keep your weight centered. Before drilling into a cabinet or wall, check what’s behind the surface so you don’t hit a cable or pipe.
Stop and bring in a licensed electrician if you find unknown or undocumented wiring, can’t reach a safe junction, or aren’t sure what your local code requires. Commercial buildings often need permits or inspections for new electrical work, so confirm requirements with your facilities team first. Plug-in and solar-powered setups can sidestep much of this, but the same ratings and load checks still apply.
Planning Your Layout: Placement, Light Quality, and Power Choice
Choosing Color Temperature and Brightness
Color temperature, measured in kelvins (K), describes how warm or cool white light appears. Warm white (2700K to 3000K) feels inviting and suits cabinets in lounges or reception areas. Neutral white (3500K to 4000K) renders colors accurately and is a dependable default for break-room counters, workshop benches, and prep areas. Cool white (5000K and above) looks crisp but can read as harsh beside a window.
Brightness is a separate choice. Lumens measure light output, so match them to the job. Task surfaces generally call for more output than display shelves, where a gentler, dimmable glow keeps products from washing out. Dimmable fixtures let you tune both. Treat under-cabinet light as one part of a wider approach to light layering so the room’s overhead and accent lighting balance it.
Hardwired, Plug-In, or Solar: Matching Power to the Site
Hardwired low-voltage systems tie into a driver behind or above the cabinet and run permanently from the building’s circuit. They give the cleanest look and suit new builds or renovations where walls are already open, but they need accessible wiring and, in many commercial buildings, a licensed electrician.
Plug-in kits are the quick route. A transformer plugs into a nearby outlet, and a cable runs along the cabinet underside. They work well for break rooms and offices, though you’ll want to hide the cord and keep an outlet within reach.
Solar-powered LED fixtures make sense where grid power is out of reach or expensive to extend, such as remote sheds, field offices, and temporary structures. A small panel charges a battery pack, so there’s no trenching or long wire runs, and the LEDs draw very little energy. Size the panel and battery for your daily run time.
Step-by-Step: Installing Front-Mounted Cabinet Lighting
Work in a clear order and test before you commit. Mounting the fixture and then discovering the strip is too long, or that the wire has nowhere to hide, costs more time than a dry run.
- Measure and mark. Measure the cabinet underside from edge to edge and pencil a straight guide line about an inch behind the front edge, or just behind any lip or rail you plan to use as a shield.
- Test-fit the fixtures. Hold the strip or bar against the line, confirm the length, and check that cut points on the strip line up with the marked cutting lines.
- Clean and prep the surface. Wipe the wood or laminate with isopropyl alcohol and let it dry, so adhesive channels bond properly.
- Mount channels or clips. Fix them along your guide line, using screws for heavy bars or in damp areas, and adhesive only on clean, flat surfaces.
- Attach the diffusers. Snap the diffuser cover or lens onto each channel to soften the light and hide the individual diodes.
- Route and secure the wiring. Run the lead toward the back or side of the cabinet, and fasten it with cable clips so it sits flat and out of sight.
- Connect the power supply. Join the fixture to the low-voltage driver or plug-in adapter, or to the solar panel and battery pack, matching polarity and checking connector ratings.
- Restore power and test. Switch the circuit back on, or let the solar unit charge as directed, then check the light along its full length.
Keep a few details in mind as you go. Leave a little slack in the cable near the driver so you can service it later, and keep the driver in a ventilated spot instead of burying it behind stored items. For a solar setup, position the panel where it gets steady daylight, and keep the lead between panel and battery as short as the site allows, since long runs can reduce performance.
If you are adding more than one fixture to a cabinet run, install them all before powering up. That lets you judge the combined output at once and spot uneven brightness or a visible join where two strips meet. Once everything is lit and looks right, you are ready to verify the result and fine-tune any problem spots.
Verifying the Result and Fixing Common Problems
Once the fixtures are powered up, walk the full length of the cabinet before you call it done. Look along the work surface for bright spots, dark gaps between segments, or a scalloped pattern from visible diodes. Then check glare from two positions: seated at the counter and standing at normal height. If you can see the light source itself or a hard reflection on the surface, the fixture needs to sit farther back or the diffuser needs swapping.
Next, confirm the hardware. Fixtures should feel only mildly warm after an hour of running, and every clip or channel should hold firm when pressed. Flip each switch and sweep any dimmer through its full range to make sure the light changes smoothly.
Common fixes are quick:
– Flicker: Reseat connectors first, then check that the driver is rated for the total load. An undersized driver is a frequent culprit, and so is a dimmer that isn’t LED-compatible.
– Uneven brightness: Look for long runs on a single feed, which cause voltage drop toward the far end. Feeding power from the middle or adding a second feed evens it out.
– Visible diodes: Move the strip deeper behind the cabinet lip or install a frosted diffuser.
– Dim solar output: Re-aim the panel toward direct sun, clear any shade or debris, and confirm the battery is fully charged.
Once everything checks out, consider adding dimming, motion sensing for hands-free operation, or repeating the setup on neighboring cabinets for a consistent look.
Front Cabinet Lighting FAQs
Is front mounting better than rear mounting?
For task surfaces, yes. Front placement sends light onto the area in front of the user instead of creating a bright strip near the wall, which gives more even coverage with less shadow.
How do I hide the light source?
Set the fixture slightly behind a cabinet lip, rail, or trim piece, and use a diffuser channel so individual diodes aren’t visible. Check from both seated and standing eye levels before fixing it in place.
Can LED strips be cut to length?
Most can, but only at the marked cut points, usually every few diodes. Cut elsewhere and the section won’t light, so check the manufacturer’s instructions first and use proper connectors to rejoin sections.
Is solar-powered cabinet lighting practical?
It can be, particularly in remote structures, sheds, or sites where running wiring is costly. Size the panel and battery to your daily run time, and place the panel where it gets reliable sun.
When should I call a professional?
Bring in a licensed electrician if you’re working with line-voltage wiring, can’t identify the circuit, or your building requires permits or code compliance.
Maintenance is light. Wipe diffusers with a soft, dry or slightly damp cloth, make sure connections stay secure, and check solar panels for dust or shade now and then. Well-chosen energy-efficient lighting generally needs little attention once it’s installed correctly, so a quick seasonal inspection is usually enough.
Front lighting earns its place among cabinet lighting techniques because it solves a real problem: it puts light on the surface people actually use, evenly and without the glare that rear-mounted fixtures often create. Whether it’s a break-room counter, a retail display, or a workshop bench, the approach works for the same reason. The light comes from the right direction.
The sequence is what keeps the results consistent. Plan your placement, color temperature, and power source first. Install carefully, with the circuit off and your safety checks done. Then verify the finished lighting from standing and seated eye levels before calling the job complete.
Modern low-voltage LED fixtures make this approach efficient to run and simple to maintain. Where grid wiring is costly or out of reach, solar-powered LED options extend the same quality of light to remote spaces. Start with one cabinet, get it right, and expand from there.